
I love all the new pop-up cards that can be cut using Close to my Heart's new Artfully Sent Cricut cartridge! Here I have used Ponderosa Pine cardstock for the liner or pop-up part of the card. After Cricut cutting the pop-up, I used a stylus to connect the tick marks from branch cut to branch cut so that folding would be easier. I then folded the piece in half to the back so that my tree folds are bending in the right direction.


Close up of my score lines.

I start bending the score lines by putting my finger under the first cut and finger press.


Continue until all branches are finger pressed.


Fold in half again, this time forward so that the 2 small sections are back and the tree branches are popping inward. Use a bone folder to crease well.

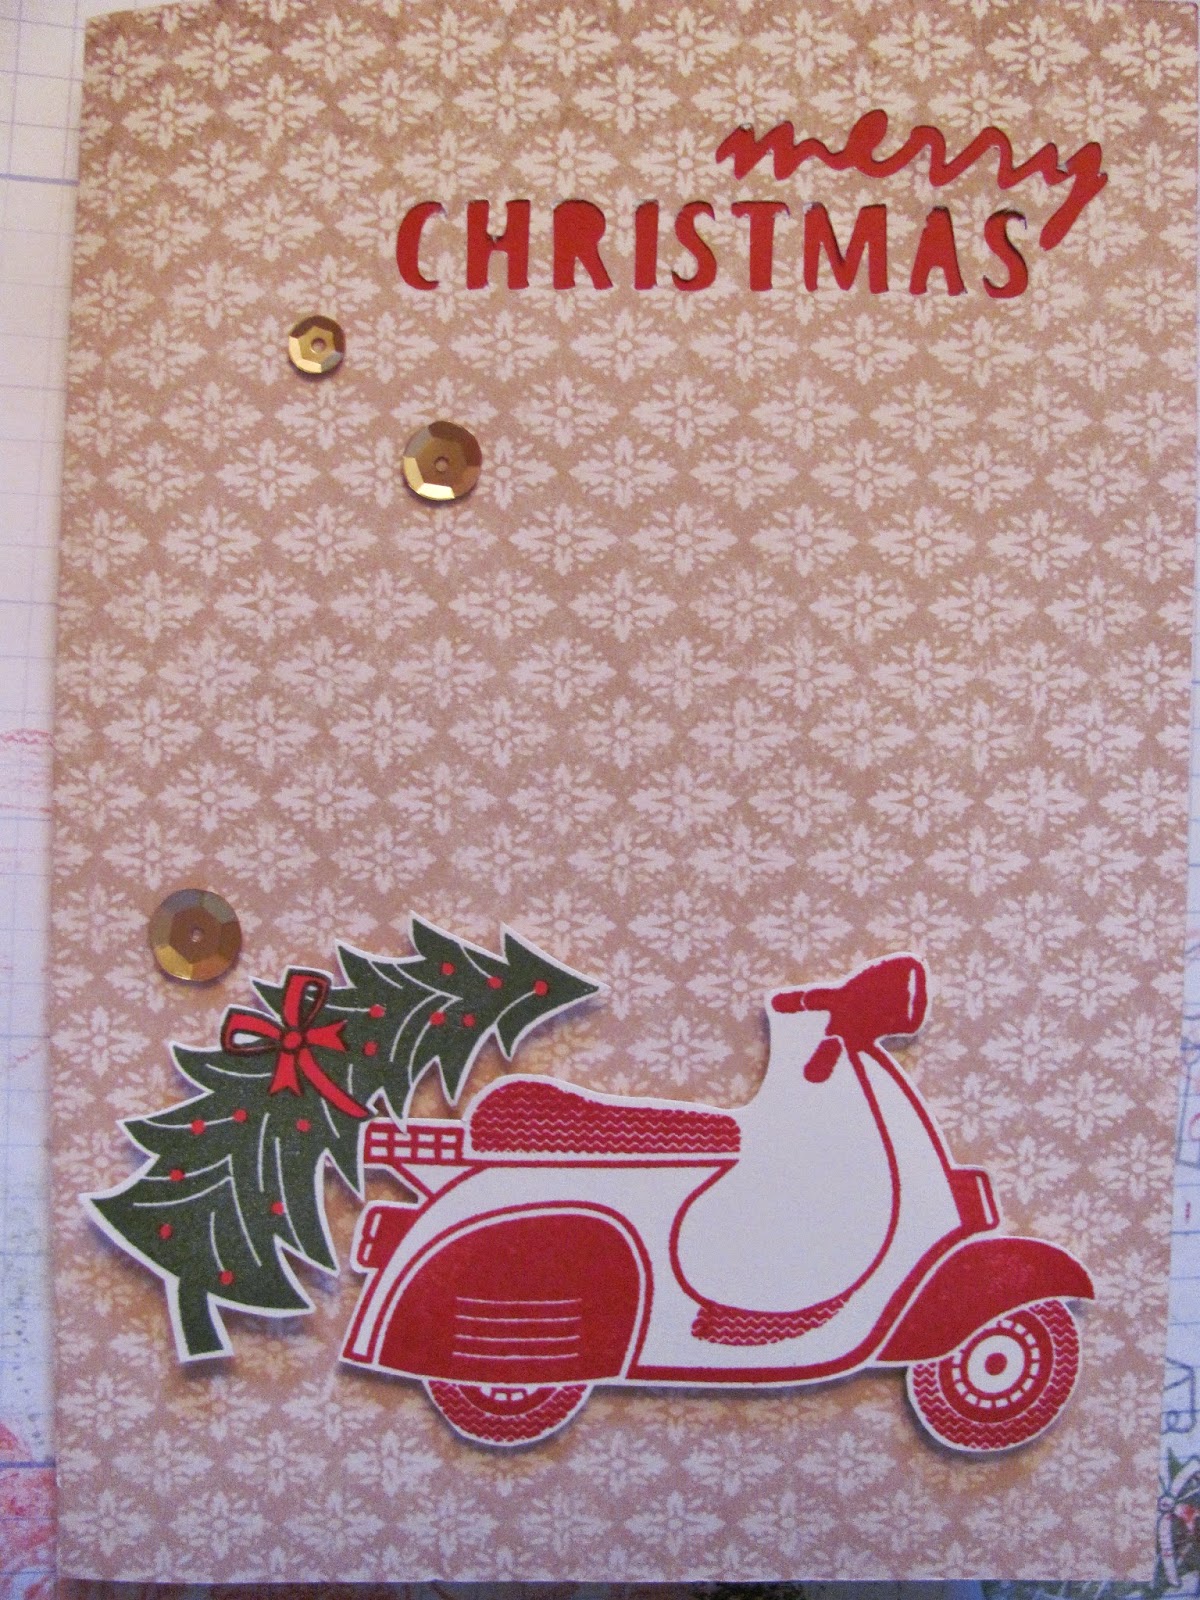
Before adhering the tree pop-up liner to the inside of the card, I backed the cut-out sentiment with Cranberry cardstock to make the words pop. Front view. The front paper is from Yuletide Carol paper pack.

Inside view of the card. The piece of Cranberry cardstock is only large enough to cover the cutout words. Be carful to keep it away from the edge of the card because the liner or pop-up piece is cut smaller than the card base.

I link to only add adhesive to one side of the liner at a time and tend to not put adhesive near the center fold. This lets there be a little give and ability for movement as the card is opened and closed.

Make sure there is even spacing around the sides and that the Cranberry cardstock is covered in the corner even if the folds don't touch.

Add adhesive to the send side and close the card to adhere.


When you open the card, your tree will pop-out.

Add the snow to the branches and the banner.


Notice how the cut out sentiment really pops with the Cranberry cardstock behind it. Decorate the front of the card. Here I have used the adorable scooter from Make it Merry stamp set.

A little more on the banner. I folded it in half backwards and folded the circle ends forward.


I used glue dots to attach.


This is a picture to show that the folds do not have to match up. When your card is open, there will be space between the two.

You can dress up your card further by adding some stamping to the tree. Before you glue the liner in, I used post-it-notes to mask. Leave only the tree exposed.

I stamped using tone-on-tone stamping (Ponderosa ink on Ponderosa cardstock) and a background stamp set called In the Background.

I really like the look.


Another up-grade is adding white cardstock to the backs of the banner so that LOVE & JOY pop.

A little extra time to add detail really make this a beautiful card.

Thanks for taking a look. I hope this inspires you to create something wonderful today!
Laurie
Follow me on Face Book at FaceBook.com/ilove2stampandscrapbook .
No comments:
Post a Comment