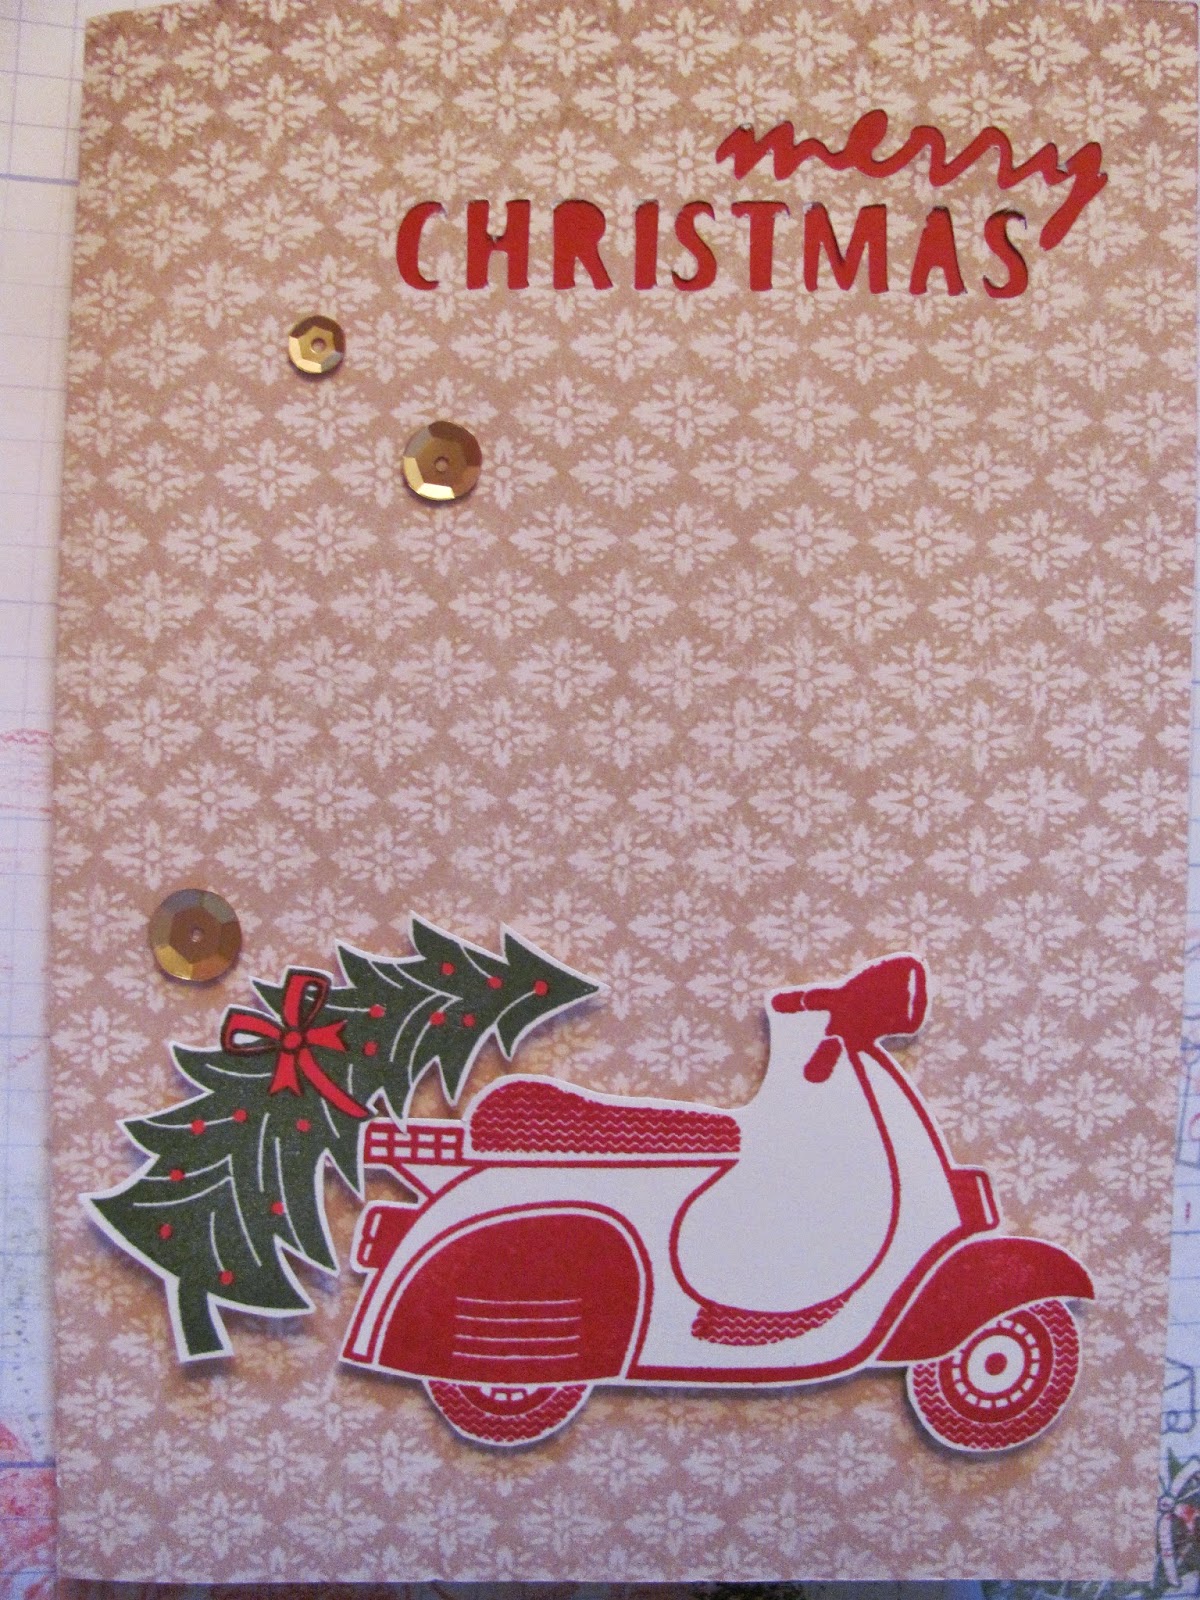
Wednesday, February 18, 2015

Close to my Heart Artiste Cricut Cartridge/ Box with a Window

The Artiste Cricut cartridge is your complete party cartridge. It has everything from cards for your invitations, cupcake wrappers, and all kinds of boxes. This window box is great for cupcakes or gifts that you want the recipient to see without opening the box.

 
You can find the cut on page 69 of the handbook. It is under the 3D Object function key. The arrow points to the box height and is written in red. The smaller red circle is around a picture of the assembled box and the number in the green bubble refers to the page number you can find the assemble directions in the accompanying assemble instruction book.


This indicates your dial size should be set to 3.5 inches and the finished size of the box is 3.5 inches.


My thumb is covering the below green bubble. The number in the green bubble refers you back to the page number in the hand book where you will find the cricut cut.

 
I added a piece of acetate or transparency to the window of the box using glue dots.
 
 
This little box is cut at one inch and is big enough to hold one Hershey's kiss.

 
I hope this inspires you to create something fun today.
Laurie
LVarner.CTMH.com
FaceBook.com/ilove2stampandscrapbook


Sunday, February 15, 2015

Artfully Sent Cricut Cartridge from Close to my Heart/Christmas Tree Pop-up Card

I love all the new pop-up cards that can be cut using Close to my Heart's new Artfully Sent Cricut cartridge! Here I have used Ponderosa Pine cardstock for the liner or pop-up part of the card. After Cricut cutting the pop-up, I used a stylus to connect the tick marks from branch cut to branch cut so that folding would be easier. I then folded the piece in half to the back so that my tree folds are bending in the right direction.

 
Close up of my score lines.

 
I start bending the score lines by putting my finger under the first cut and finger press.


Continue until all branches are finger pressed.


Fold in half again, this time forward so that the 2 small sections are back and the tree branches are popping inward. Use a bone folder to crease well. 
 
 
Before adhering the tree pop-up liner to the inside of the card, I backed the cut-out sentiment with Cranberry cardstock to make the words pop. Front view. The front paper is from Yuletide Carol paper pack.

 
Inside view of the card. The piece of Cranberry cardstock is only large enough to cover the cutout words. Be carful to keep it away from the edge of the card because the liner or pop-up piece is cut smaller than the card base.

 
I link to only add adhesive to one side of the liner at a time and tend to not put adhesive near the center fold. This lets there be a little give and ability for movement as the card is opened and closed.

 
Make sure there is even spacing around the sides and that the Cranberry cardstock is covered in the corner even if the folds don't touch.

 
Add adhesive to the send side and close the card to adhere.


When you open the card, your tree will pop-out.


Add the snow to the branches and the banner.


Notice how the cut out sentiment really pops with the Cranberry cardstock behind it. Decorate the front of the card. Here I have used the adorable scooter from Make it Merry stamp set.


A little more on the banner. I folded it in half backwards and folded the circle ends forward.


I used glue dots to attach.


This is a picture to show that the folds do not have to match up. When your card is open, there will be space between the two.

 
You can dress up your card further by adding some stamping to the tree. Before you glue the liner in, I used post-it-notes to mask.  Leave only the tree exposed.

 
I stamped using tone-on-tone stamping (Ponderosa ink on Ponderosa cardstock) and a background stamp set called In the Background.

 
I really like the look.


Another up-grade is adding white cardstock to the backs of the banner so that LOVE & JOY pop.

 
A little extra time to add detail really make this a beautiful card.

 
Thanks for taking a look. I hope this inspires you to create something wonderful today!
 
Laurie
Follow me on Face Book at FaceBook.com/ilove2stampandscrapbook .


Wednesday, February 4, 2015

Artfully Sent Cricut Cartridge / Close to my Heart / Halloween Cards

The CTMH Artfully Sent Cricut Cartridge is an incredible resource for card makers.
The following cards and envelope are all cut from just one page of the hand book. Each key has several cards that can be cut and icons that coordinate with the same theme.
 
This entire set of cards can be found on page 43.
 
This card on the outside has the spider (icon function key, shift), Spider web negative card (Pocket Card Function key, shift), but the title is from Artbooking cartridge (I cheated a little). The base of the card can be cut by hand or using the Pop-up function key. The suggested dial size is 5" for a finished card size of 5"x7".  
This is the inside cut (Pop-up function, shift). Remember there is a second book that comes with this cartridge to help you with assembly. The spider again (icon function key, shift) and the web (icon function key).

The next card is on the Scene function key with the card liner (Scene function key, shift)
cuts the cute BOO.

 
 The envelope and liner can be cut using this key as well!
 To cover the outer left front of the card with B&T, simply slide a 6 3/4" x 1 7/8" piece of B&T behind and mark with a pencil.

 Cut it out and glue it on. It's that easy.
Next is the Sentiment card on the Sentiment Function key. I stamped tone-on-tone to give the outside a little interest. I backed the sentiment with different colored card stock and B&T and then lined the inside of the card to hide it.
 Add a few embellishments to finish off.
The Boo card is also cut from the Sentiment function key plus shift. The title, BOO, is cut from Artbooking (I cheated again, can you blame me). This card cuts out the wonderful pumpkin faces so I added a strip of black card stock behind them.
 Our next card is on the Sleeve function key. It cuts the black card stock piece with tabs so that it can be glued to form a pocket or sleeve. I created a pullout and added a couple of spiders.
 I added a Gypsy piece of card stock so that when the pullout is removed, there is a contracting color to show off the web. The tab on the pullout is from Art Philosophy.
 Flip that pullout over and I added the other image on the Pocket Card function key. BOO!
There is even one card I did not cut. It is on the Sleeve function key plus shift.
So, wow! That's all on one key page 43. Six cards, 2 icons, envelope and 2 pocket cards. Now multiply that by 50 keys plus shift 50 keys. That's a lot of cards! Plus you can use the icons on scrapbook pages and home décor.
I hope this inspires you to create something special today.
Laurie