
I love how you can take aluminum adhesive tape and create something so fabulous. It's so easy, that's the beauty. The fabulous frame is the new hinged shadow box frame from CTMH. Here's what I am talking about:


I cut my images using Close to my Heart's Artbooking Cricut Cartridge (except the tomb stone is cut from CTMH's Artiste Cricut Cartridge). I used 2 layers of cardstock instead of thin chipboard, so, I cut each image out twice and glue them together before adhering to the 12x12 chipboard base.


Flip over and fold the tape over to the back.

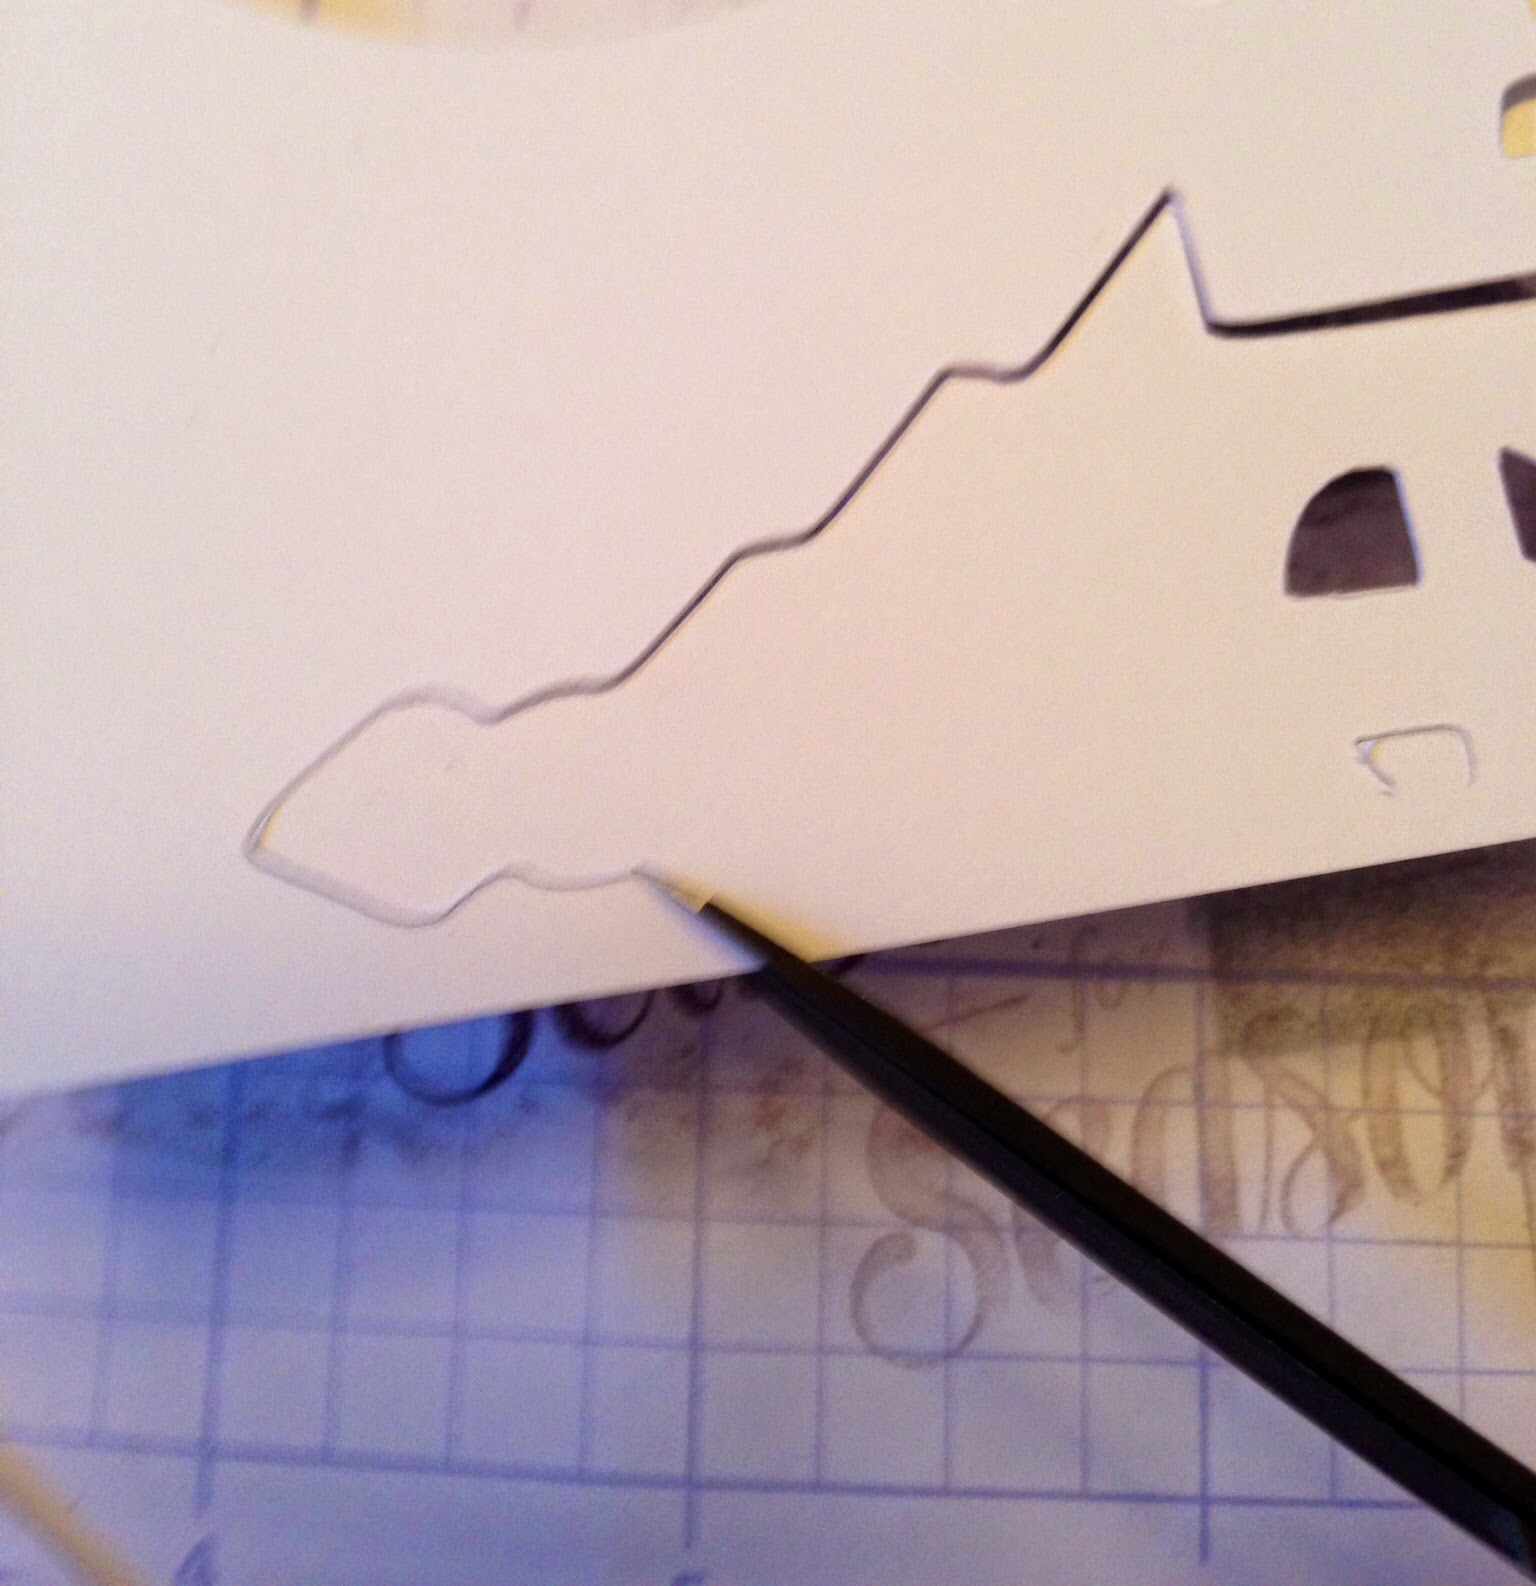
Start to burnish the aluminum over all of the detailed images by using a stump (used by artists for pastels and charcoal shading). This is a picture before:

After:


Spread acrylic paint over entire surface.


Add color by using alcohol inks with a Q-tip.


The skull in the tomb stone is by Tim Holtz.


No comments:
Post a Comment