Sunday, August 24, 2014

Chalk It Up Filmstrip Hidden Picture Magic Layout CTMH

Chalk It Up Filmstrip Hidden Picture Magic Layout CTMH
 
I felt like doing a little Magic for this years ScrapDat crop, so I took 3 layouts from Jeanette Lynton's book called Magic: Interactive Scrapbooks that Dazzle and Delight.
This is Thursday's class that Karen and I will be teaching at ScrapDat entitled 'epic'. This layout uses Chalk It Up paper. I love this paper! The layout can be found on page 56 of Magic. The film strip pulls out to reveal hidden photos! I will teach you how to build this interactive element into your layout.
Hope this inspires you to create something from your heart today.
Laurie in Louisiana
 
LVarner.CTMH.com
FaceBook.com/ilove2stampandscrapbook
ilove2stampandscrapbook.blogspot.com
 
 
 left page:
 right page:
 
filmstrip close up:
 filmstrip just being opened:
detail:


Friday, August 22, 2014

Artbooking Metal Art

Artbooking Metal Art

I love how you can take aluminum adhesive tape and create something so fabulous.  It's so easy, that's the beauty. The fabulous frame is the new hinged shadow box frame from CTMH. Here's what I am talking about:


Here's how I made it:
I cut my images using Close to my Heart's Artbooking Cricut Cartridge (except the tomb stone is cut from CTMH's Artiste Cricut Cartridge).  I used 2 layers of cardstock instead of thin chipboard, so, I cut each image out twice and glue them together before adhering to the 12x12 chipboard base.


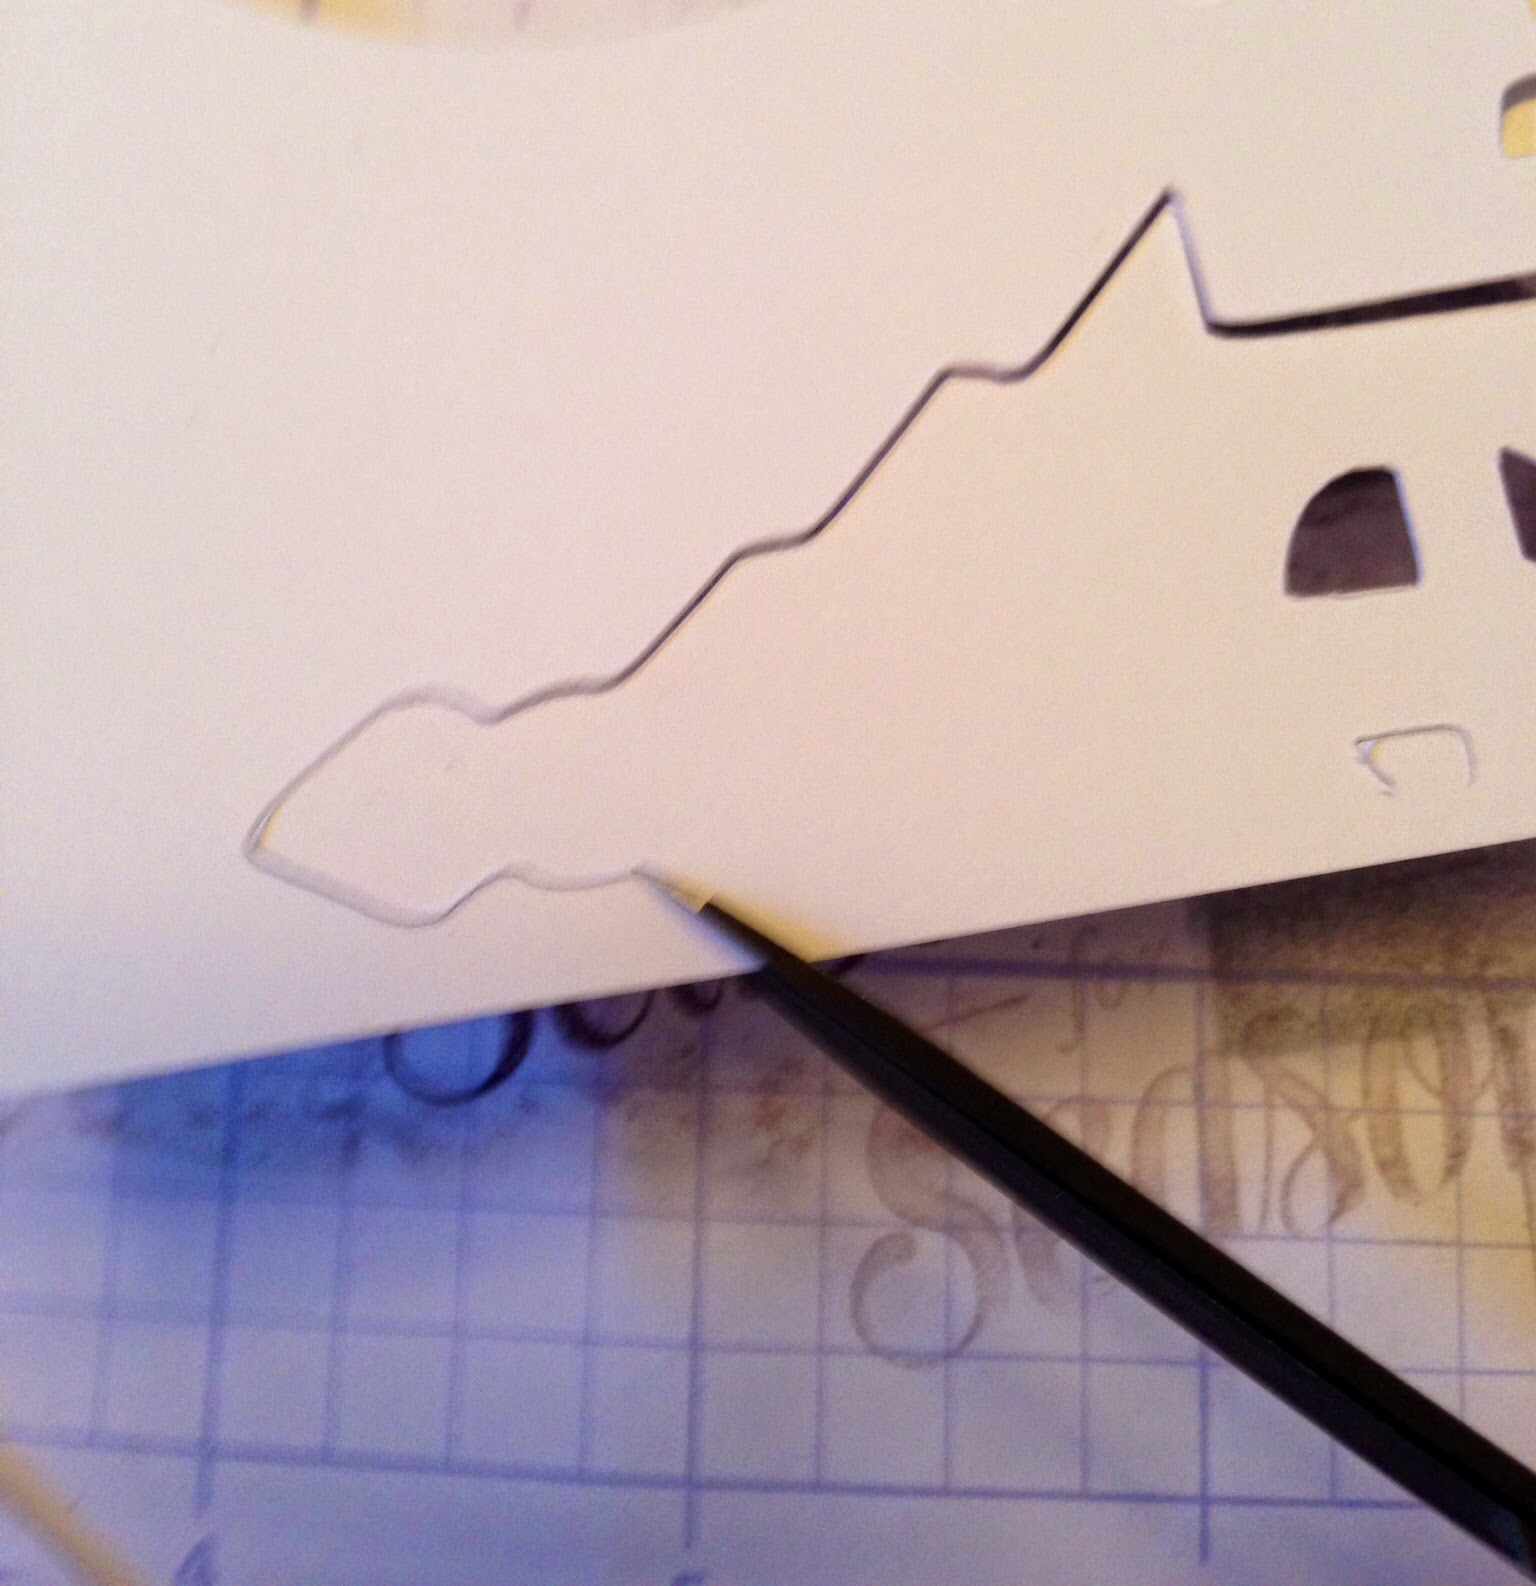
Cut the aluminum tape in strips to go passed the edges about 2 inches on either side. Start at the bottom and work your way up laying the strips overlapping by about 1/4 inch. Tip: only peel part of the protective paper off and use a rubber brayer to help lay the aluminum tape smoothly.
Flip over and fold the tape over to the back.

Start to burnish the aluminum over all of the detailed images by using a stump (used by artists for pastels and charcoal shading). This is a picture before:
After: 
 Be careful not to let aluminum tear. Burnish all flat areas as well as along the edges of all images.
 You may want to add more texture by using metal texture tools.
Spread acrylic paint over entire surface.
 Remove as much or as little acrylic paint with paper towels as desired. Tip: gloves are a good idea for this part.
 Paint will remain in deeper grooves.
Add color by using alcohol inks with a Q-tip.

 I added cheese cloth dyed with re-inker, plastic spiders, black gems and a skull in the corner.

The skull in the tomb stone is by Tim Holtz. 


Sunday, August 3, 2014

Close to my Heart Blog Hop: Sweet Salutations and Chalk It Up

I made these cute little treats to share with everyone who came to my open house.  I used Chalk It Up paper to wrap around a couple of Hershey's candies. I used the Sweet Salutations stamp set to dress it all up.


Hope this inspires you to create.
Laurie in Louisiana

LVarner.CTMH.com
FaceBook.com/ilove2stampandscrapbook
Pinterest.com/LVarner2

Thursday, July 31, 2014

CTMH New Product Blog Hop 2014

It's here!
The new Annual Inspirations Idea Book and Catalog is here. Nearly 200 pages of awesome new papers, stamps and of course, wonderful artwork!  You can look through the pages by visiting my website at LVarner.CTMH.com.
Here is a sample of the new Chalk It Up paper pack (page 27) and Have a Happy Day stamp set(page 118). I love this stamp set because it has so many unique images all in one set. There are flower, pennant, arrow images with 7 different word stamps. I stamped the flower in Sorbet ink on the white circle and paper pieced by stamping the flower in Lagoon ink on a separate piece of paper. I hope this inspires you to create something today.


Monday, July 21, 2014

Close to my Heart Convention 2014 Layout Contest / CTMH Artbooking Cricut Cartridge

Well, I signed up for everything CTMH offered at convention 2014. One of these was the Layout Contest. There were about 40 entries. Here is mine.


I love techniques! So, I used the Close to my Hearts Artbooking Cricut cartridge to create my own overlay out of titles welded together and used as a mask.  Then I spritzed with diluted Black reinker. Once dry, spritzed water onto parts of the Skylark B&T paper and scrunched it. In some areas it tore but that's ok to me.  In these areas, I backed with Ariana floral paper. The photos where scissor distressed and all edges were sponged with black ink. Even the stamped swirls were stamped once and restamped in second generation to create a messy look.  Really fun. Here are a few close up pictures of the detail.


Let me show you how--Laurie in Louisiana

LVarner.CTMH.com
http://FaceBook.com/ilove2stampandscrapbook
http://ilove2stampandscrapbook.blogspot.com

Friday, July 18, 2014

Magnetic board using Close to my Heart Skylark paper and the Art Philosophy Cricut cartridge

This makes a great gift. It is a piece of metal flashing that is 8"x12" covered with my current favorite paper, Skylark. The flowers were cut using Close to my Hearts Art Philosophy Cricut cartridge.


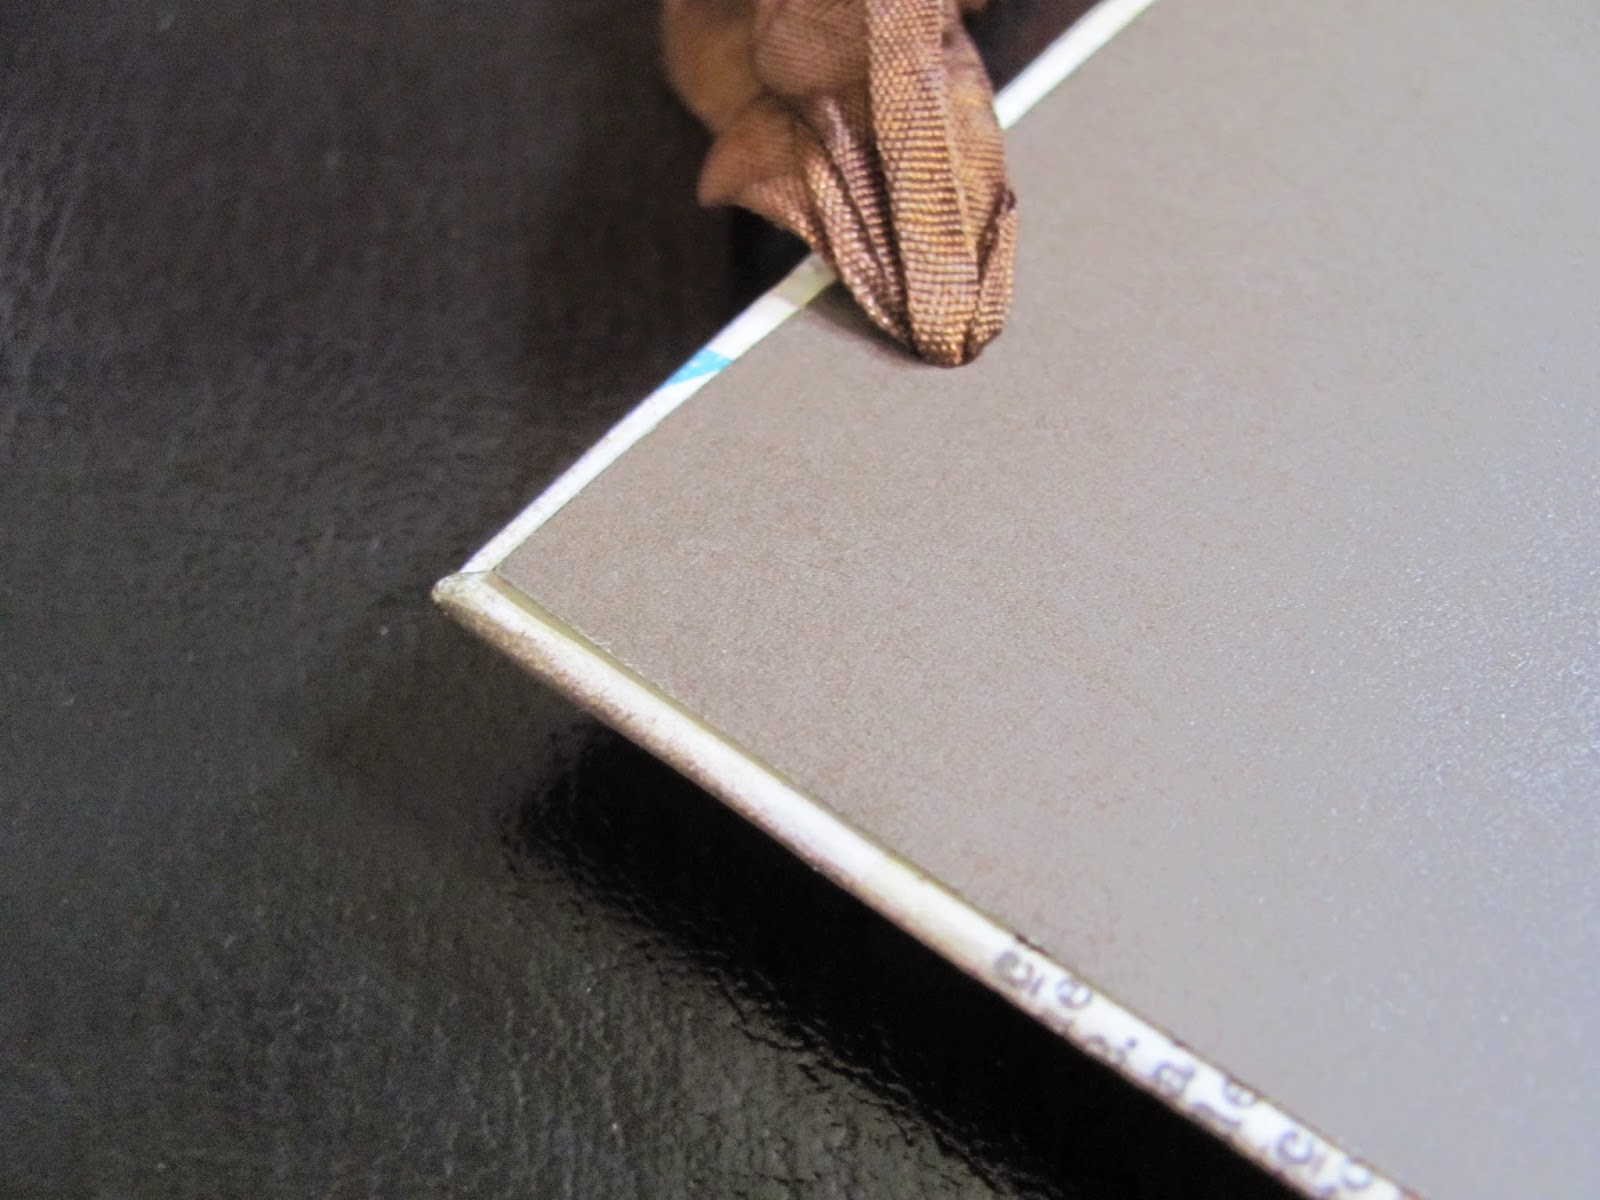
I covered the front and the back with paper, used my crop-a-dial to punch holes and added ribbon knotted in front.  The flowers were cut using CTMH Ariana paper at 7", 5", and 3" spirals. Once cut, I spritzed with water and crumbled. I straightened them enough so that I could loosely roll them up. After the liquid glass held them in place, I used my palm to flatten the flower so that they didn't stick out so far. I used super strong magnets with Skylark Assortment flowers to add some fun.
Let me show you how--Laurie in Louisiana

LVarner.CTMH.com
http://FaceBook.com/ilove2stampandscrapbook
http://ilove2stampandscrapbook.blogspot.com